Documentation:Saving models for Unity and how to import them there
Getting toons to work in Unity may seem a bit intimidating at first, but in practice it only requires relatively few mouse clicks.
Preparations
If you don't have a unity project already, create one. Things will be a lot easier for you if you export directly to the Assets directory, so before exporting from MH the Assets directory should exist.
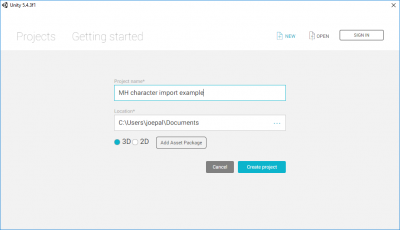
For this documentation, let's create a new empty Unity project:
Exporting from MakeHuman
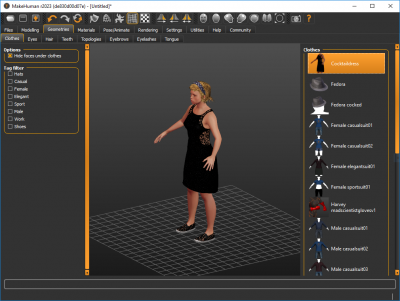
Let's start with modeling a toon. We will here select some clothes/hair pieces with transparent areas so that we can see that we get those things right inside unity.
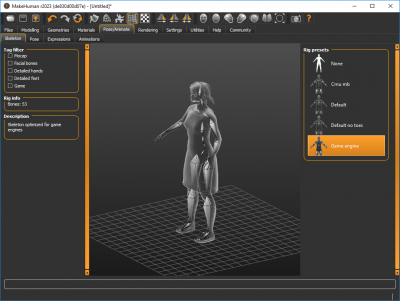
An important step is selecting an appropriate rig. Unless you know what you are doing, you will most likely want to use the game rig one here (there are cases where the other ones may be appropriate).
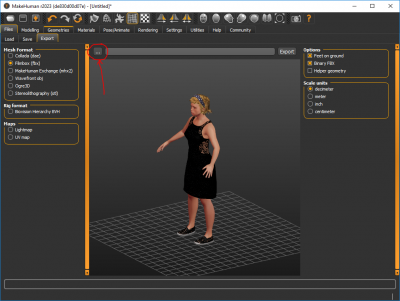
You are now ready to export. You will want to use FBX, and the default settings are fine.
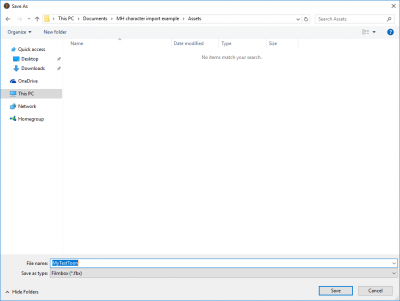
However, before exporting, click the three-dots-button and browse to your Assets folder, so that the toon is exported there:
You can now click export, and the toon will be exported to Unity.
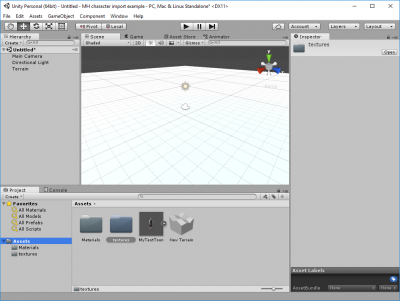
In Unity you will now see that the toon is available. By exporting directly to the Assets directory, you also got "materials" and "textures" autocreated. Otherwise you would have had to configure these manually.
